The Zappy Shipwreck is one of the more-involved Side Quests in Echoes of Wisdom. You'll be exploring a mini-dungeon, an abandoned ship in the Zora Cove that's now infested with monsters.
This Side Quest is well worth completing as you'll get some excellent rewards, including lots of rupees.
In this guide, we've covered The Zappy Shipwreck Side Quest in full, which includes a full walkthrough of the Wrecked Ship dungeon, a strategy for defeating the boss, and all the rewards.
For a list of all of Echoes of Wisdom optional quests, check out our complete Side Quest list.
Where to find The Zappy Shipwreck Side Quest
The Zappy Shipwreck Side Quest becomes available once you've cleared the first four dungeons of the game — Suthorn Ruins, Gerudo Sanctum, Jabul Ruins, and Hyrule Castle.
That means you need to have completed the Still Missing Main Quest and got the Lands of the Goddesses Main Quest.
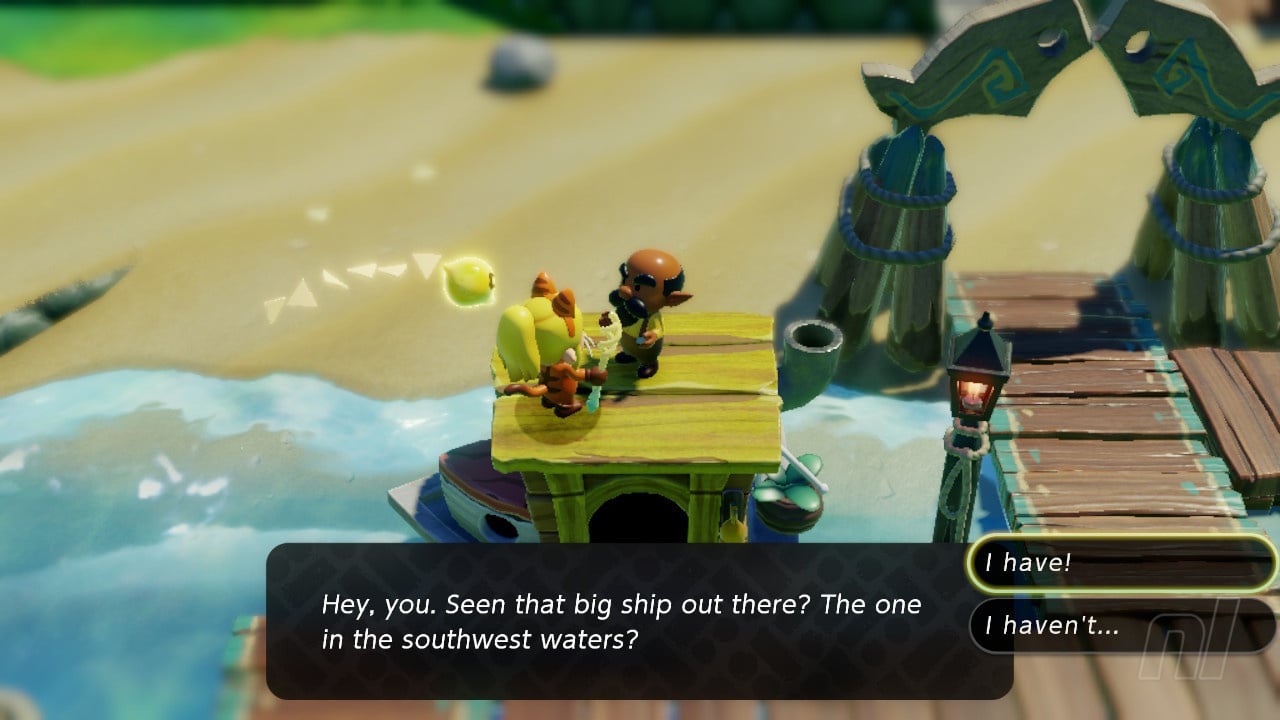
Once you've ticked all of the above, then head to Seesyde Village in Jabul Waters. You'll spot an old man standing by a boat near the entrance. Speak to him and you'll find out about a monster causing chaos inside a wrecked ship in Zora Cove. You'll need to investigate.
Wrecked Ship Location
You need to head to the southwest corner of Zora Cove. Equip the Zora's Flippers to make the swim a little easier if you want, or warp to the Waypoint by the Sea Zora Village and swim west.
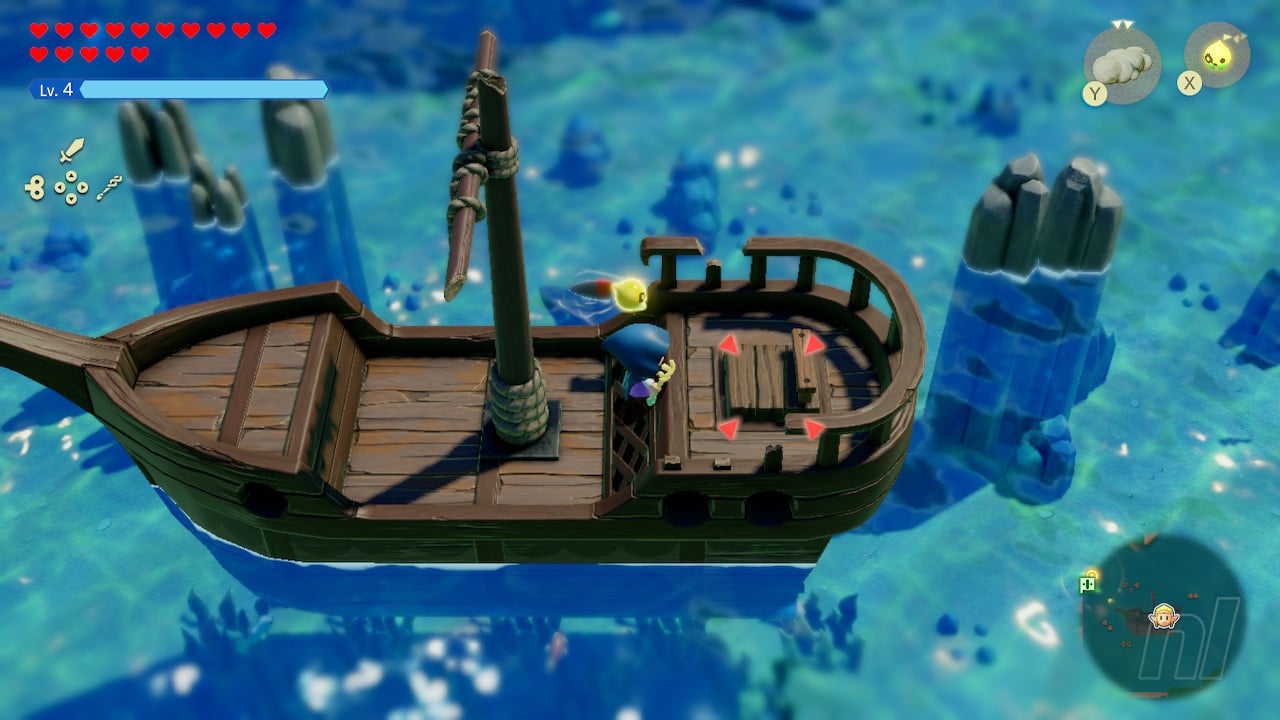
The ship is very easy to spot, and is even marked on the map. Once you get there, climb up using some water blocks or wooden boxes, and then use Bind on the handle on the back of the ship's deck. Pull it to reveal a staircase.
The Zappy Shipwreck Side Quest - Solution & Rewards
Once you've opened up the entrance to the Wrecked Ship, head inside and get started with this mini-dungeon. Below is a complete walkthrough for the Wrecked Ship and a guide for the boss waiting for you at the end.
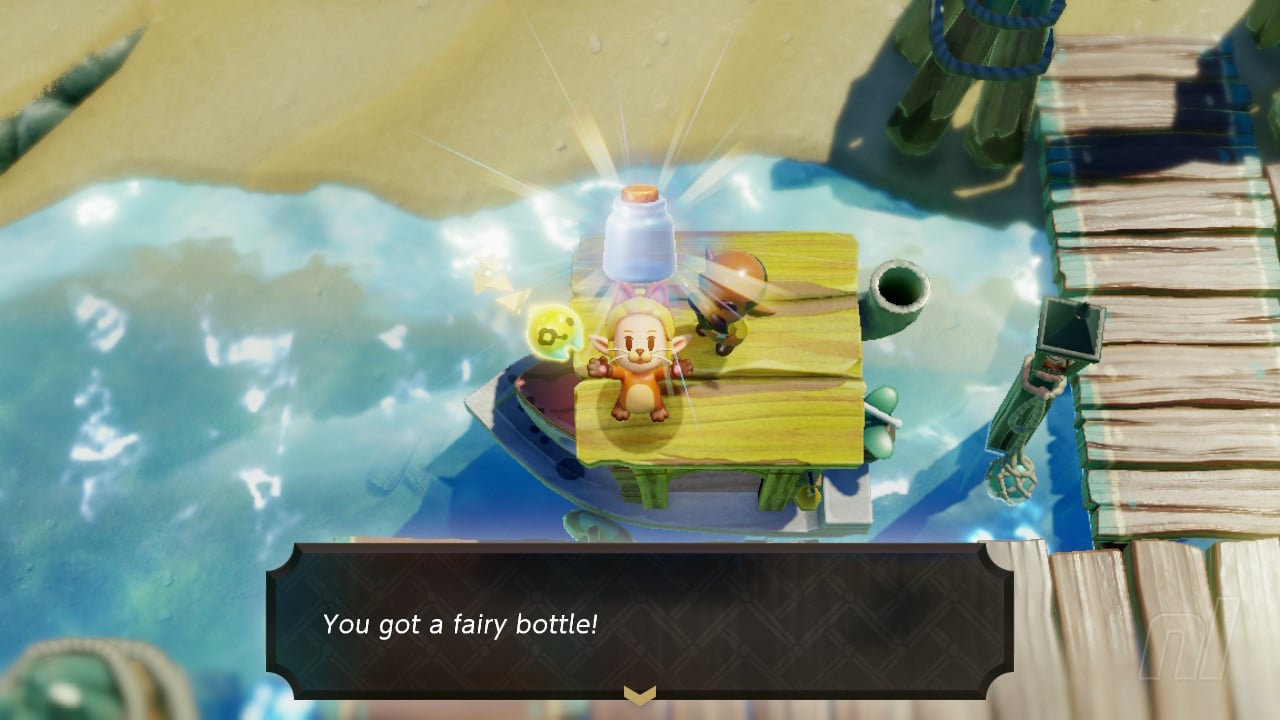
After you've cleared the dungeon and defeated the boss, head back to Seesyde Village to claim your reward — a Fairy Bottle! Perfect for storing fairies in at the Fairy Shrine.
There are some electric monsters here, so if you have some Electro Apple-based Smoothies, now is not a bad time to use them. The Zora's Flippers also help with swim speed as there are a few water sections you need to get through.
Wrecked Ship Walkthrough
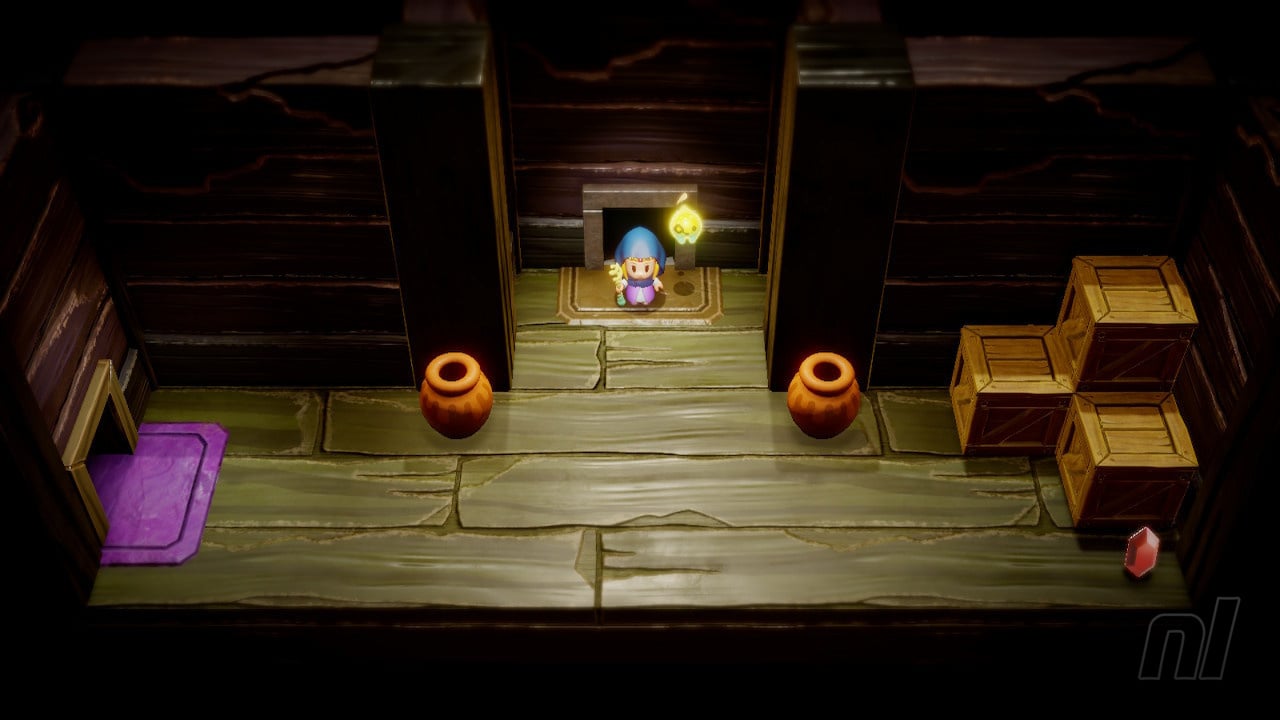
As you descend the stairs, you'll enter a room full of pots, barrels, and wooden boxes. Move the boxes (either using Bind or destroying them) in the northeast part of the room to reveal a hidden entrance. Head through the door.
The next room has some Octoroks and Tektites. Defeat them if you want, otherwise, head into the next room. Grab 5 Rocktatoes from the treasure chest in the northwest corner, and dive into the hole in the bottom left corner.
In this side-scrolling section, you'll need to swim through some dark passages. Touch the coral on your way or use a Tangler Lv. 2 Echo to light the path. In the south, there's a chest containing 50 rupees. Keep an eye on your oxygen levels, but the path is relatively straightforward.

Eventually, you'll emerge in the sleeping quarters. Open the chest for 5 Electro Apples and then use some Beds to climb over the top of the left wall. On the other side, you'll spot a Darknut statue and a switch that's on a raised platform.
Bind to the statue, dive down to the surface of the water, then swim back up — the statue should lift as you swim up. Then swim left and drop the statue on the switch. Walk through the open gate and the door to the north.
The final room contains a couple of Hydrozol enemies and a Poe — if you haven't been to Faron yet, you can grab a Hydrozol Echo. Use a Bombfish on the breakable wall in the top-left for a chest containing 300 rupees. Then, exit and head right for another chest containing 20 rupees. Head up the stairs, then head left for a boss fight.
How to defeat Barinade
Yes, this really is Barinade from Ocarina of Time — considerably less scary than its appearance in Jabu-Jabu's Belly, but it's also nothing to worry about.
Barinade will surround itself with multiple Biri, smaller jellyfish. You need to defeat those to attack the boss in the centre. While spinning around, the Biri will occasionally surround themselves with electricity, which will do a lot of damage if you touch them.
Use long-ranged Echoes such as the Spear Moblin and Boomerang Boarblin, as they can hit multiple Biri at once without taking damage from the electricity. Wait until they defeat all eight of them, as Barinade will collapse, then you can dive in and use your Swordfighter Form to dish out a lot of damage.
When Barinade wakes up, it will summon eight more Biri, but it will also start moving around the arena. You'll have to stay out of its way while also re-summoning your long-ranged Echoes to do all the work for you.
Again, once all eight Biri have been defeated, the boss will collapse, leaving it vulnerable. Do enough damage to defeat Barinade. It will drop a bunch of rupees and a Heart Piece.
If you're looking for more helpful guides, tips, or puzzle solutions, head over to our Echoes of Wisdom walkthrough hub.


Comments 0
Leave A Comment
Hold on there, you need to login to post a comment...