Welcome to our Luigi's Mansion 2 HD walkthrough guide series! Here we'll give you a 100% guided tour of the multiple haunted mansions on offer in Luigi's second spooky offering. With step-by-step details on how to progress through each area, alongside full guides for All Boo Locations and All Gem Locations, this is your one-stop shop for this remastered version of the game.
Luigi's Mansion 2 HD Walkthrough Guide: C-5 - Piece At Last
One last piece of the clock to nab now, a great big rotor. So, let's get stuck in now by giving chase to a ghost who nicks our rotor as we arrive in the level.
Head right from the service elevator, after you've flashed it and broken it, and through the door to the Gear Chamber.
Old Clockworks Gem #10
Before leaving the elevator area, check the mirror at the door and you can see this gem reflected back at you. To get this, return here with Toad at the end of this level to fire him over and grab it!
Once in the gear chamber, take the lift down to your immediate right to interrupt the ghost with the rotor. There's an invisible chest right beside the lift as you exit, so dark-light that for some goodies. Now keep heading right and peek through the wall to see our target plotting and planning with his cohorts.
We now need to go fetch Toad, who is in the synchronisation room, as he's gonna help us get to the storage room. Phew! Head all the way left and down the stairs to the side of the lift. There's a bunch of bugs to kill at the large crack in the wall.
Old Clockworks Gem #11
There's also a hidden section of bridge to fix with your dark-light before you make your way across and behind the wall to be transported to a secret minigame with a gem for winning!
Go left and through the door under the stairs and pass down the service elevator, careful as it passes you by and crashes and make sure to gather up all that money. We are now in maintenance hub as we pass through the door at the end of the stairs.
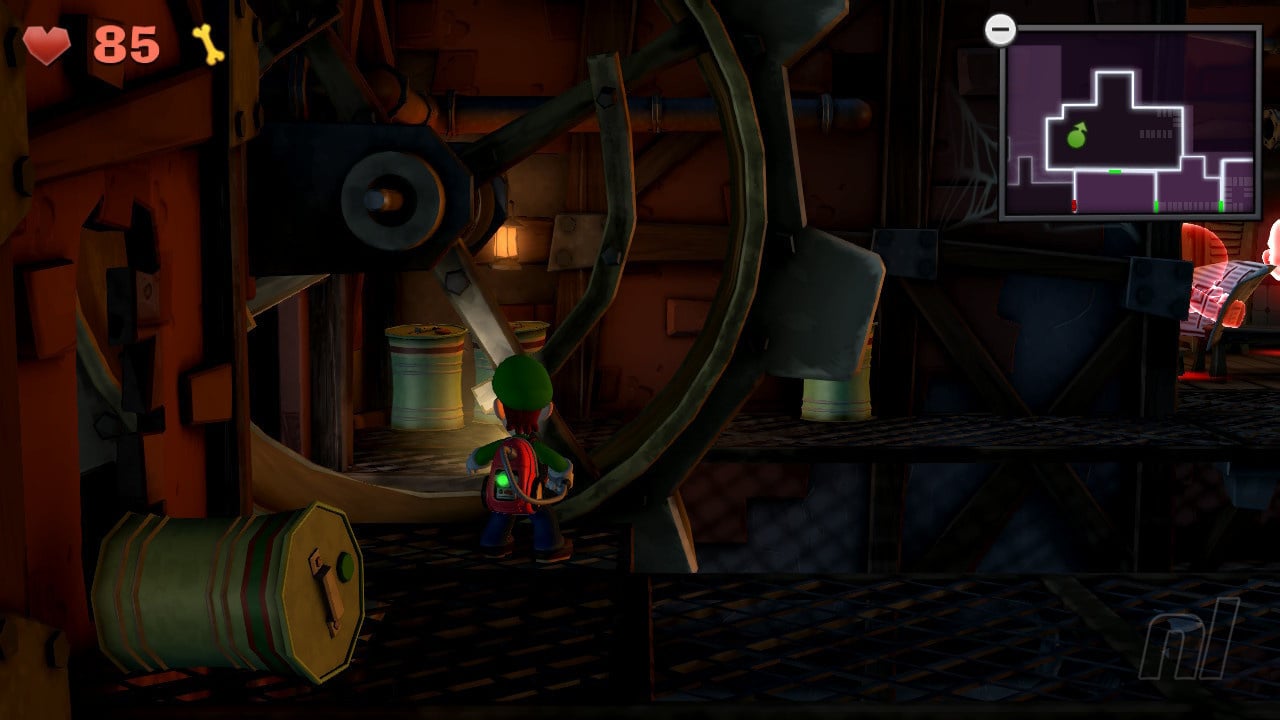
Flash the scanner beside the door then ride the chain over and blow the bridge into place. The door on the left of this room is locked but there is a secret door to reveal with your dark light, as shown below.
Old Clockworks Gem #12
You can also drop down onto the floor below here and use your dark light to find a chest with our next gem! There is also a gold bone in the trash can in the background down here.
Get back up by standing on the cog shape on the floor. Then head through the door we revealed to enter the Crank Room. And remember kids, no cranking in the crank room.
We can see two slammers and a key in the background, let's move right and then down the steps to find a rotating platform and three coloured orb bombs. Now use your dark-light to reveal a huge big cog that gets the whole place up and running again.
Now move across the cogs here, gather money from the chest, flash the red spiders and then head back upstairs and to the door where we can ride the cog as it's moving. Jump off at the platform and pull off the sheet to find a little path through the wall.
Boo - Boony Raboot
In the small space here, dark-light the area to reveal a chest containing Boony Raboot, who should be dealt with in exactly the same manner as every other boo. Follow the trail of movement with your dark-light and focus it on the boo until it's exhausted. Then Poltergust that spooky fool.
Back out on the platform, wait for the gap in the wheel to pass through to the rear platform area.
You've got the upper hand on the two slammers here so flash them and wrangle them both at the same time. You should have maxed your Poltergust power by now so a full red charge should take both down in one go.
There's a gold ghost in the middle locker and your key awaits on the right. Ride the cog in the foreground over to the stairs again now and go back to the maintenance hub to open the locked door on the left.
We are in the Synchro Gantry right now, which sounds like a nightclub on a cruise ship but let's roll with it. Head to the crank straight ahead and interact with it for a cuckoo surprise and then keep moving. Stand on the central pad on the floor to drop a guardrail down (we'll return to this later) and reveal a crack in the wall ahead, then we can move left to the Synchronisation Room.
There are two red cogs at the bottom of this room, with a space for a missing third. Flash the spiders for coins and then dark-light the space to reveal the third wheel is actually still there.
There's a whole mess of gold behind a poster on the wall to the left of the Toad portrait. Once you grab this, return to the cogs and use your Poltergust to blow them so the path to Toad is cleared. Let's get him out of that picture frame.
Toad is happy to be free, so let's move it now to the storage room. You'll need to fight some greenies to move out of this area and then we have a problem, as Toad is not making it through the crazy cuckoo door.
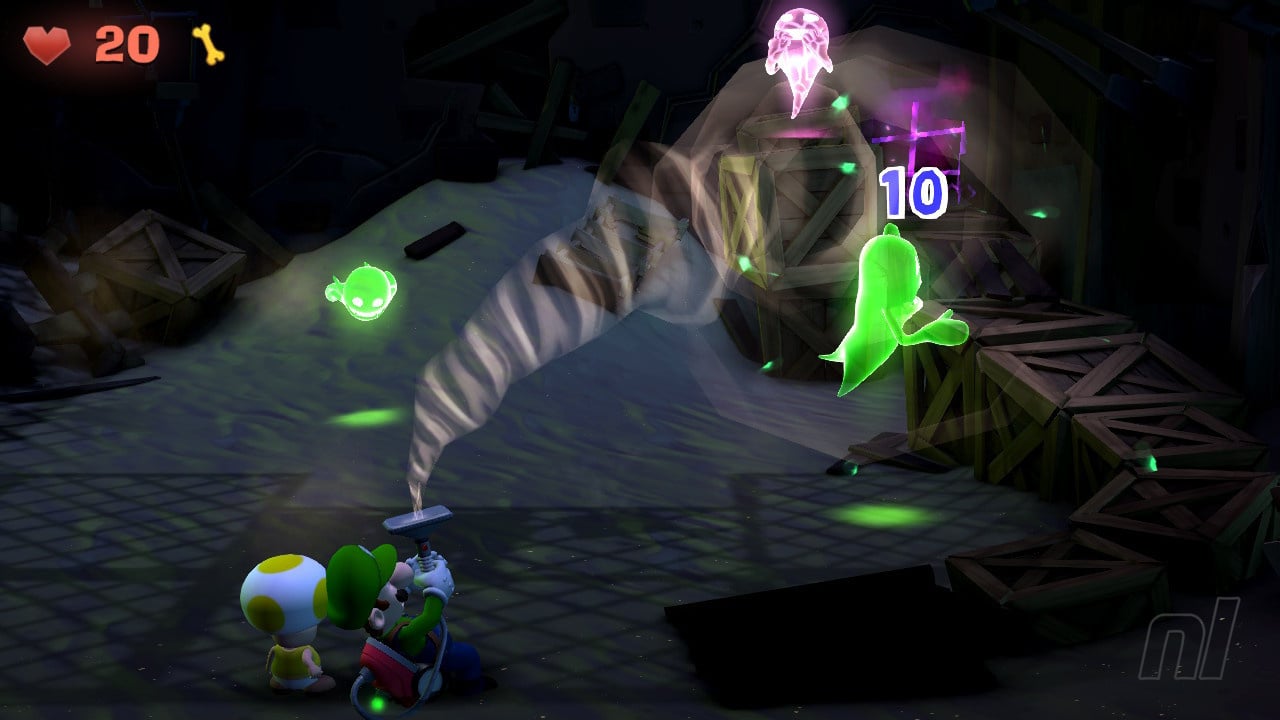
Instead, we need to return to the pressure plate we saw earlier, drop the metal guardrail, and use the Poltergust to blast Toad over and quickly move through to rescue him from two greenies as he drops down off the conveyor belt.
In the maintenance room, you'll be attacked by three greenies on the moving cog. These guys get stunned when they spin so let them attack, dodge, and then flash them before grabbing.
Once done, fire Toad over to the platform at the door out then ride the chain back to join him and move to the gear chamber. Here we find the purple sneaker ghost who has our cog. We are now locked into a wave battle against some greenies while the sneaker watches.
Prep for some shovel greenies, wait for them to attack, and then stun as they draw back their weapon, or catch them as they recover from a miss.
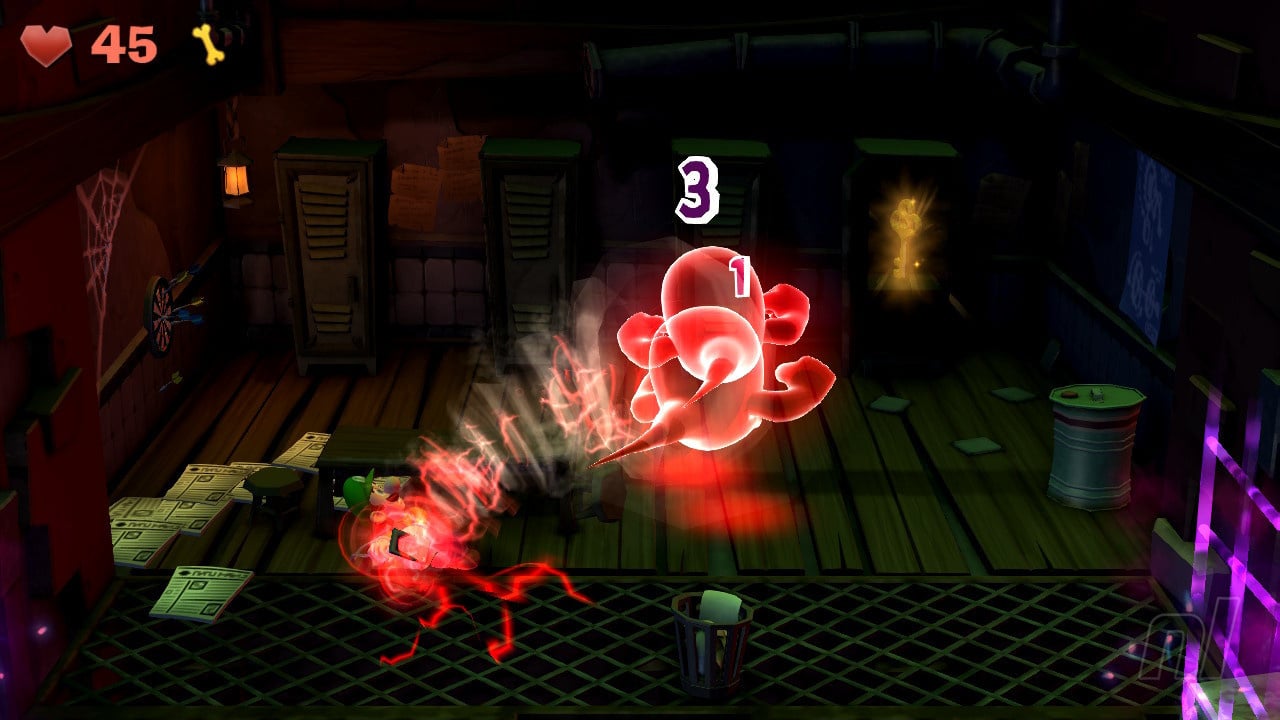
There are also some mummy greenies to deal with. Flash them to have them run at you and topple as they smash into a wall. Then Poltergust the bandages to reveal the greenie.
As you whittle these greenies down to the final one, the purple ghost will begin to interfere so make sure to flash him as well and then turn your attention to him fully. One single full Poltergust charge will take him down by this point.
Now in the gear chamber upstairs, fire Toad into the lift to have it come to you. In the storage room, pull the poster off the mid-section where the gear is and fire Toad through the hole. Then join him downstairs to grab the rotor.
Our final job for this part is to take Toad to the service elevator. So let's exit the very top door of the Gear Chamber and head there now. Remember to throw Toad over to the gem in this area before leaving. Good job!


Comments 0
Leave A Comment
Hold on there, you need to login to post a comment...